pdproxyind@gmail.com Authorized PD-Proxy Reseller, Contact to buy Vouchers.
This tutorial will explain how using registry editor to change the Remote Desktop Protocol (RDP) port number on your Windows 2003 / XP / Vista, Windows 7, Windows 8.
This will be useful if you want to use Remote Desktop while you are connected to PD-Proxy since port 3389 is blocked on our servers to prevent hackers from using our service in bruteforcing other RDP servers. or when you are behind a firewall or NAT and the default port 3389 is disabled.
To change the listening port where Windows remote desktop protocol (RDP) is listening, follow this instructions:
On the remote computer where you want to RDP
Since we changed the port where RDP is listening on our remote computer. We need to do the following on our local computer for us to be able to connect on RDP.
On your local computer. This is your computer where you are using PD-Proxy VPN
This tutorial will explain how using registry editor to change the Remote Desktop Protocol (RDP) port number on your Windows 2003 / XP / Vista, Windows 7, Windows 8.
This will be useful if you want to use Remote Desktop while you are connected to PD-Proxy since port 3389 is blocked on our servers to prevent hackers from using our service in bruteforcing other RDP servers. or when you are behind a firewall or NAT and the default port 3389 is disabled.
To change the listening port where Windows remote desktop protocol (RDP) is listening, follow this instructions:
On the remote computer where you want to RDP
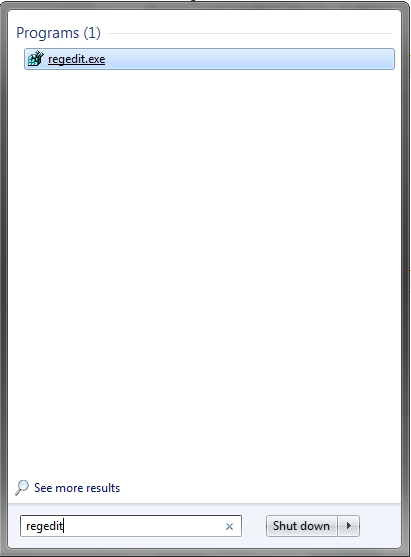
- Press "Start" button and type "regedit":
- Expand the registry folders to:
HKEY_LOCAL_MACHINE -> System -> CurrentControlSet -> Control ->Terminal Server -> WinStations -> RDP-Tcp - Look for "Port number" entry and double-click on it. In opened
window choose "Decimal" and change "Value data" field to desired port
number.
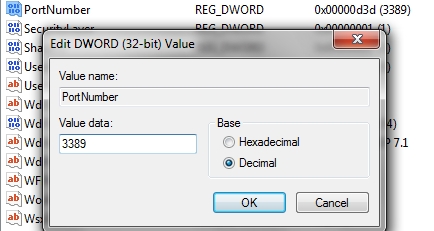
- Press OK and Quit registry editor.
- Make sure that new port is opened in firewall.
- Restart your computer
Since we changed the port where RDP is listening on our remote computer. We need to do the following on our local computer for us to be able to connect on RDP.
On your local computer. This is your computer where you are using PD-Proxy VPN
- Click Start, click All Programs, point to Accessories, point to Communications, and then click Remote Desktop Connection.
- In the Computer box, type the computer name or the IP address
of the computer that you want to connect to, followed by a colon (:)
and the port number that you want to use.
For example, to connect to port 3390 on a computer that is named "MyRemoteServer," type the following information: MyRemoteServer:3390
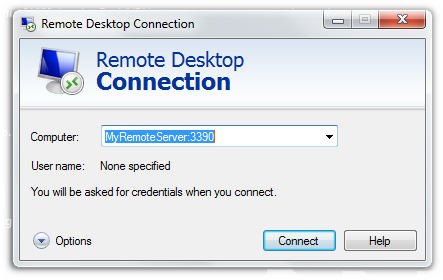
- Click Connect.
No comments:
Post a Comment